Source: https://www.istockphoto.com/photo/view-inside-car-gearbox-gm184976064-18839578
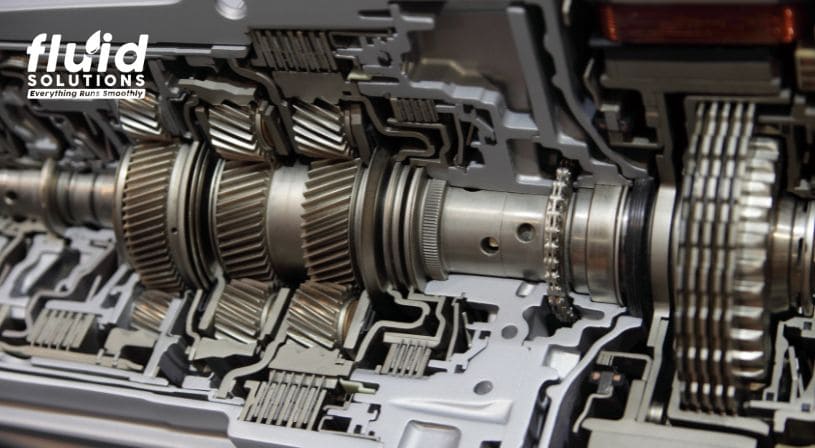
The gearbox, or transmission, helps distribute power from the engine or motor to other parts of the machine. It also adjusts the speed and torque to match the specific needs of the equipment. Thus, it is important to perform regular inspections to maintain it.
It is never a bad time to inspect your gearbox, to ensure your gearbox’s best condition. Whenever possible, look for these common signs of gearbox wear and failure:
- Unusual noises – Grinding, whining, and clunking sounds indicate that your gearbox is malfunctioning. They may show serious problems that require prompt attention.
- Burning smell – A burning odor could indicate overheating because of internal friction or low fluid levels.
- Oil leaks – Reddish-brown fluid pooling under your vehicle or machine is often a sign of a gearbox oil leak. Ignoring this can lead to overheating and severe damage. Fixing transmission fluid leaks promptly is crucial to maintaining your system’s performance and preventing costly repairs.
- Stuck or unresponsive gears – If your gears grind or get stuck frequently, it is a sign of worn synchros. It will worsen over time if left unattended.
- Vibrations – Excessive vibrations during use show misalignment or damaged parts of your gearbox.
Some problems are simple enough to be fixed by relubricating with fresh gear oil. Others require the replacement of parts. However, you can only spot these issues if you regularly inspect your gearbox.
Gearbox Inspection Checklist: Essential Areas to Focus On
Source: https://www.shutterstock.com/image-photo/operator-repair-gear-box-automotive-engine-256139014
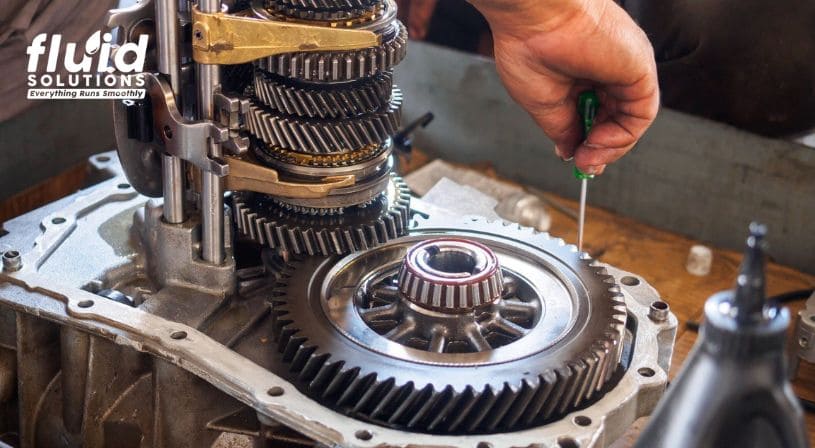
Regularly inspecting your gearbox ensures it runs in its optimal condition and helps you avoid expensive repairs in the future. Here is a comprehensive gearbox inspection checklist showing the essential areas to focus on for your checkup.
Visual Inspection
Start with an external inspection of the gearbox. Watch out for these signs of gearbox wear:
- Cracks and dents: Look for physical damage to the housing. Also, note the extent of damage or crack.
- Corrosion: Check for rust or corrosion that can affect the integrity of the gearbox that may lead to leaks.
- Surface condition: Watch out for paint discoloration or burns, which show overheating.
- Oil leaks: Observe the area where you’re placing your machine for reddish-brown fluids, which signify gearbox oil leak. Also, check the cracks to see if oil is leaking out from them.
- Damaged seals: Inspect shaft seals for oil leaks. Leakage may cause contamination as dirt and water can enter the gearbox.
Lubrication Check
After the initial external inspection, check the lubrication of your gearbox. To check:
- Locate the dipstick or filler plug. You can check the machine or vehicle manual to find it.
- Remove the dipstick or filler plug. The dipstick typically has a marking to show low or full levels. If your machine has no dipstick, use a clean tool like a screwdriver or ruler and carefully insert it to check oil levels and quality.
- If the oil seeps out, the gearbox has enough oil. Otherwise, add the gearbox oil to refill it.
- If the oil is amber or light brown, replace the dipstick or filler plug and proceed to the next area to check. However, you must change it if it is dark brown or black.
It is important to always check the lubrication levels of your gearbox, as the accumulation of contaminants can damage it and result in expensive repairs. Low levels can also cause overheating. After inspection and cleaning, dispose of oil waste properly.
Gear Wear Assessment
Some wear and tears are normal because of consistent use and time. However, checking gear wear is still important to prevent severe gear failure and prolong the use of your gearbox.
Understanding how to assess the extent of gear premature wear should be a necessary part of your regular gearbox maintenance. Some types of critical gear wear are:
Source: https://www.electroyou.it/image.php?id=5567
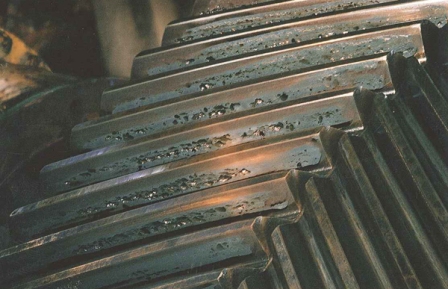
- Pitting: Small cavities or pits appear on the gear surface caused by excessive loads and poor lubrication.
Source: https://media.noria.com/sites/Uploads/2014/2/12/dbe2cff8-41aa-43c1-8eba-0ea7d7cd654b_8-20-15.jpeg
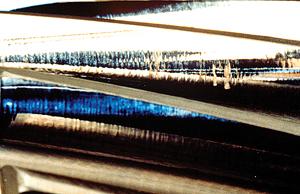
- Polishing: Not as serious as other types of wear and characterized by the appearance of smooth, polished surfaces caused by continuous friction between mating gear surfaces.
Source: https://www.researchgate.net/profile/Robert-Errichello-2/publication/225602159/figure/fig6/AS:667804042801156@1536228299573/Excessive-abrasion-type-wear.ppm
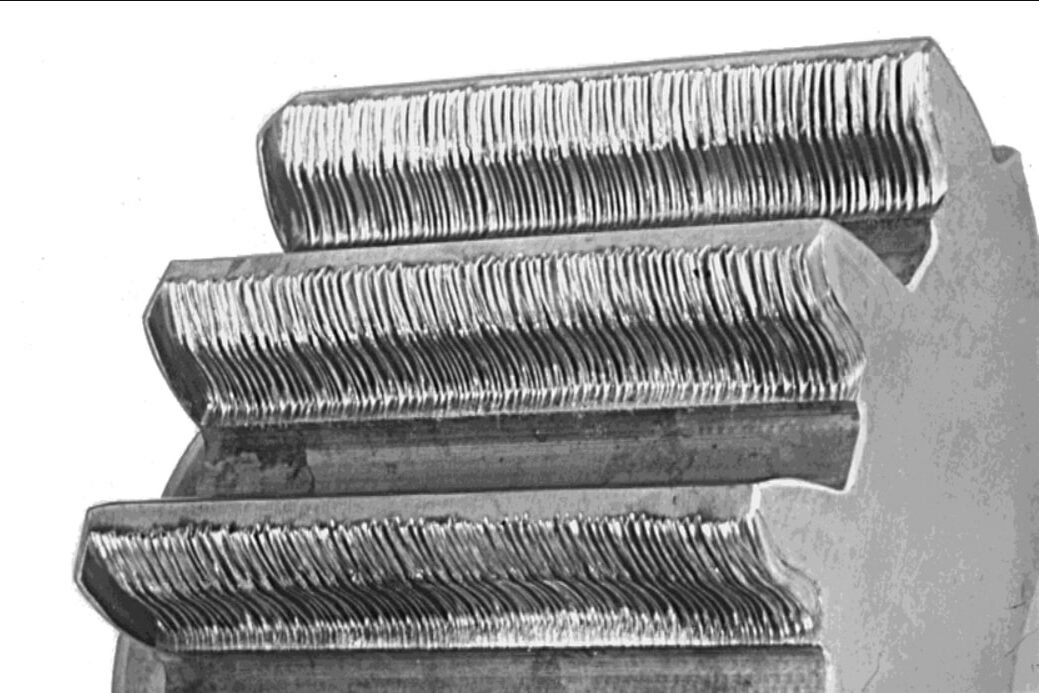
- Abrasive wear: Characterized by radial scratches with some scoring caused by trapped metallic debris or friction between two gears.
Source: https://forum.ih8mud.com/attachments/20160506_195844-jpg.1254191/
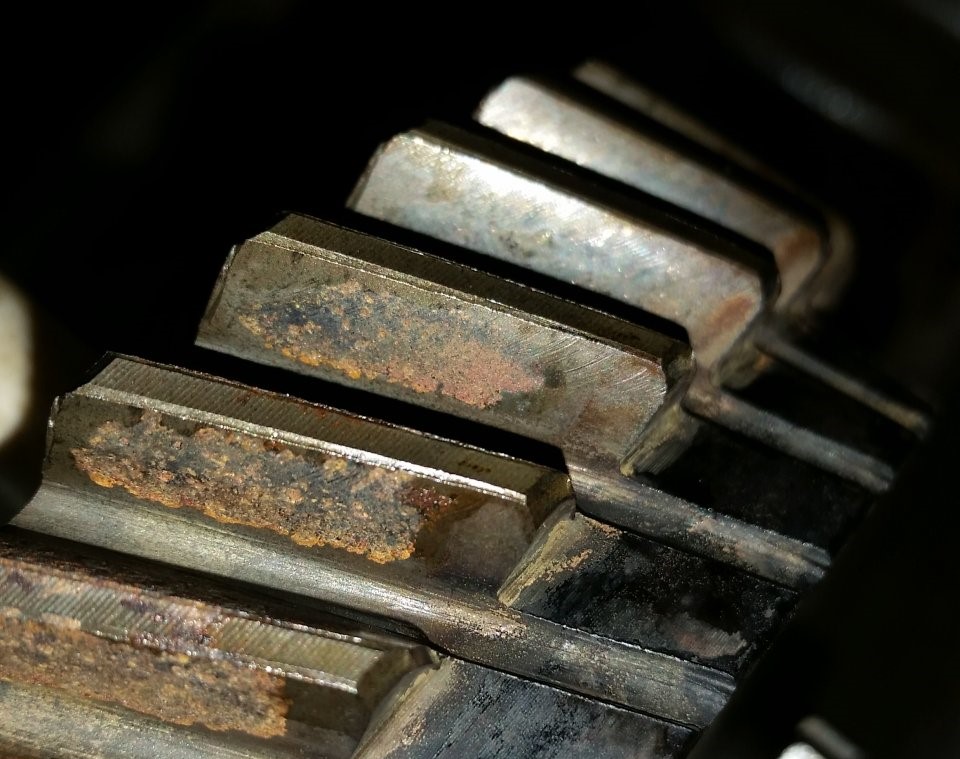
- Corrosion: Wear caused by chemical reactions that result in rust formation and degradation of gear material over time.
Understanding the different wear will also help you identify the solution to prevent further deterioration of your gearbox.
Noise and Vibration Testing
Vibrations can help you identify problems in your gearbox, as each component has specific frequencies. Similarly, noise will show specific issues, like misalignment and imbalance. Hence, noise and vibration testing are important during gearbox inspection. A portable vibration analyzer or vibration meter can help with the vibration analysis. In contrast, a microphone can help capture noise levels.
Here are things to watch out for during noise and vibration testing:
- Grinding – May signify damaged gears because of misalignment or improper lubrication
- Rattling – May signify loose parts like bearings and gears
- Whining – May signify worn gears and low-transmission fluids
- Knocking – May mean damaged internal components
Some noise and vibration problems can be solved by lubricating the components with fresh and correct gear oils. You can also consult with industry experts to diagnose the causes of the unusual noises if they remain or worsen.
Temperature Monitoring
Use infrared thermometers for gearbox temperature monitoring. Also, temperature trends should be monitored during and after use. High temperatures signify lubrication problems or internal damage.
The key areas to monitor when checking the temperature are:
- Gearbox housing
- Oil sump
- Bearing areas
Be mindful of other signs of overheating, such as discolored or burned housing, smoke, and dark oil color.
Alignment and Balancing
As mentioned above, it is normal for gears to deteriorate. However, misalignment can hasten this degradation, so it’s important to check the alignment and balance of gears.
Perform an initial check for uneven gaps between mounting surfaces. Then, use dial indicators or laser alignment tools to check for proper alignment of components in your gearbox.
Vibration analyzers can help check for the balance of bearing housings and mounting points. Imbalanced components cause damage to other parts and uneven weight distribution that affects seals and bearings.
Inspection of couplings and mounting
Couplings should be securely fastened. During inspection, check for looseness, cracks, and misalignment. Similarly, mounting bolts should be tight and secure. They should also be stable and free from any damage.
Check misalignments using laser alignment tools or dial indicators. After inspection, tighten loose bolts or replace worn components. Adjust misalignments to prevent uneven weight distribution and further costly damage.
Take Charge of Your Gearbox Health
Our thorough gearbox inspection checklist can help you maintain your gearbox health. From eye inspection of external parts to careful inspection of the quality of its internal components, this guide can help you spot the different signs of gearbox wear. It also shows common problems surrounding each part and how they affect overall machine performance.
Regular maintenance can prolong the life of your gearboxes and enhance overall machinery performance. It can also help you spot potential issues early on so you can fix them before they cause costly repairs.
Protect and Optimize Your Gearbox – Contact Fluid Solutions Today
Gear wear is inevitable. However, with regular maintenance, you can extend the use of your gearbox. So, protect your gearbox today with Fluid Solution’s comprehensive range of high-quality gear oils designed to improve the efficiency of your machine.
Our high-quality gear oils and lubricants can also help reduce the wear and increase the longevity of your gearboxes. We also offer expert consultation services to help you find the correct lubrication solutions for your machinery needs.
Contact our experts today at (02) 8370 5928 / (0917) 894 9156 or via email at inquiry@fluidsolutions.com.ph to get the best lubricants for your machinery needs.


